Working off candles, flashlights, and kerosene works for a while, but eventually, you want to just have a working light switch. Well, I finally did it and didn’t kill myself in the process. Eventually, the lighting will be ripped out when I install insulation and drywall in the future, but I am happy to have it now.
The challenge (or so I thought) is that this is going to be a clunky mess of a project, because my electrical is still running on 12v, will move to soon to 24v, and most lighting projects run on 110v (at least in the United States). My friend, wow was I wrong. This was a far easier project than anticipated. 12v and 24v systems are now just as easy to install as 110v systems, if not easier. Let’s get to work.

Here is the first trick I learned. They now make 12v/24v LED bulbs that look like any other sort of bulb, and fit into any other socket. Mind Blown. At $5 a bulb, I bought four (assuming I would break one or two in the process, which I didn’t). Not only that but they only consume 4 watts of power; perfect for an off-grid application. Because it is a DC bulb, that allowed me to choose from any fixtures that I wanted, and use this bulb. You just run your DC power to the fixture, and the bulb accepts it. The fixture only provides and electrical path from the wiring to the bulb.
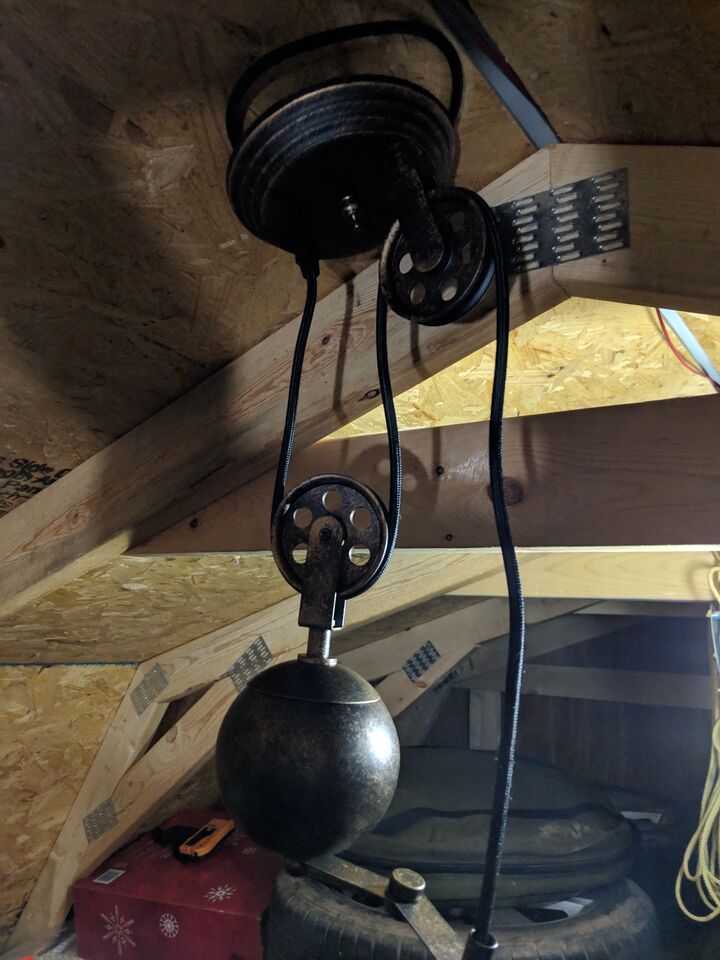
The next thing was to pick out a fixture. I hate this part… there are too many dang options and for my primitive cabin I thought it would badly clash. However, to my surprise, I found some light fixtures that work on a pulley. With these, I can keep them up high to brighten up the room, or pull them down when I am working on a specific project.
With that in mind, I setup the ladder to be my scaffolding. HOLY OSHA VIOLATIONS BATMAN. Looking back on the pictures, I should have cleaned up the place before working on this project. Unfortunately, I had a bad case of “get-it-done-itis” and so I pressed forward with the project, but I should have stopped to do some clean up. When I saw the pictures, I made another trip out to the cabin the next weekend to do some serious cleanup. Yeesh. Pardon the mess in these pictures.


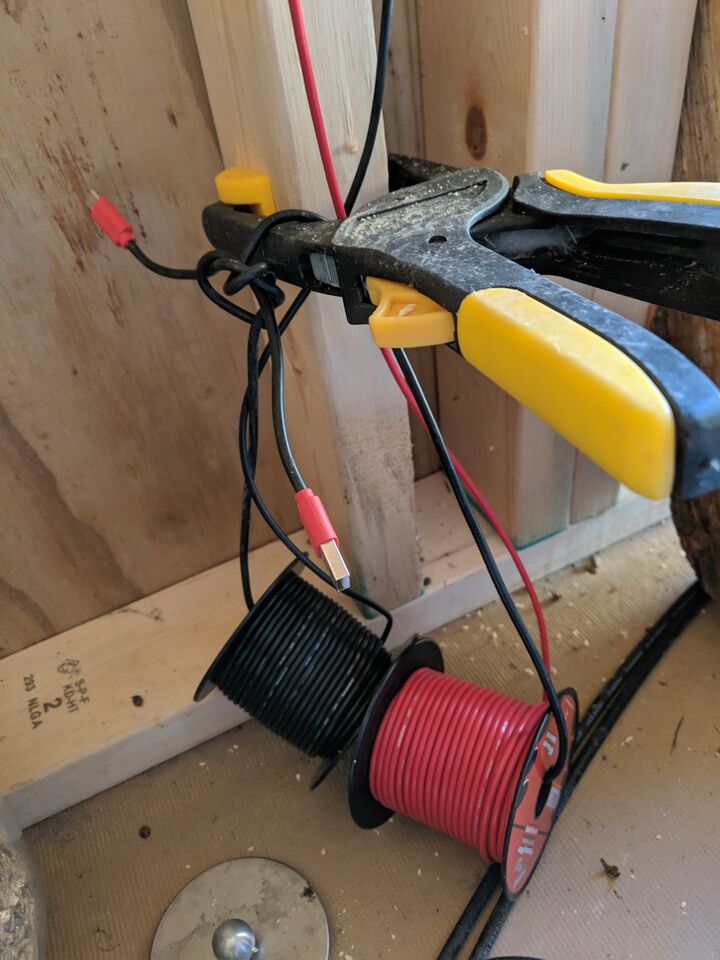
From here, it was time to run the wiring. This part was pretty easy as I ordered two spools of 14 gauge wire. While this is complete overkill for my application, both spools only cost $20 and can be used in other projects. As opposed to AC wiring, I only needed to run two wires, positive and negative. I just stuck a clamp on a stud strung some USB cables through the spools, tied them to the clamp, and starting pulling wire. Why usb cables, cause I am a nerd, and they quickly available.
Now that the wire was pulled, it was time to do some future proofing. I don’t want to keep directly wiring everything to the big battery block, so I installed two 12 Terminal Power Distribution Block Kits both, positive and negative. This will make future upgrades easier.
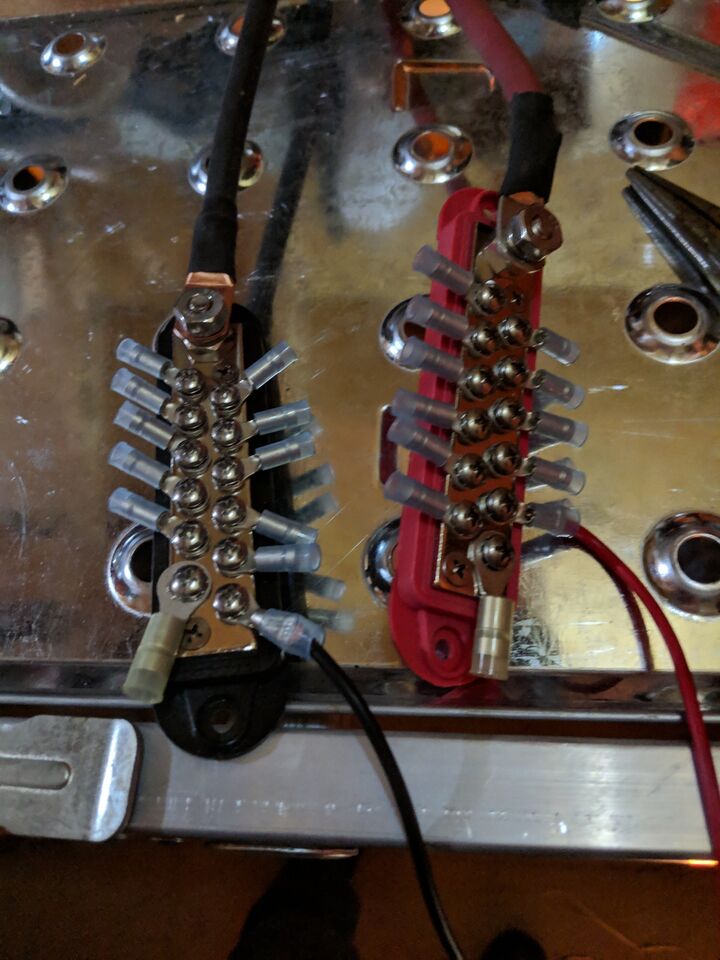
On the top of the block, you will see some heavier gauge wire being ran to the battery block, and some smaller wires that will be run to the light fixture. Pretty easy, with lots of room for future upgrades.
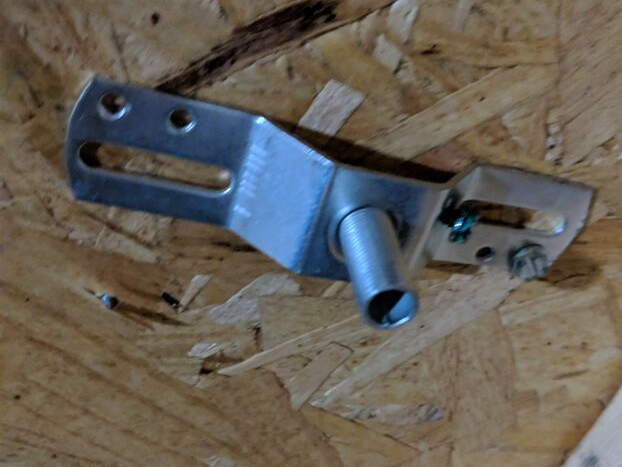
With the wiring setup, tested, and ready to go, I then installed the fixture mount to the ceiling. Normally, the angled roof would be a pain in the butt to deal with, but in this case the pulley based light will just hang directly from the ceiling. So, gravity will do the hard work for me on this one. So, it was as simple as screwing the fixture to the ceiling. However, I did have to change the screws to ensure I would not poke through the wood and damage the roof. Also, I did put in all the screws, I just didn’t take pictures when they were all in there.
Next was a simple test fit to make sure everything was going to work correctly before wiring. You can also see where I brought the wire through the ridge of the wood panels. I tucked it out of the way so they can’t be seen.
Then it is time to get wiring. This was pretty simple as well. Stripped a bit of the wire off, connect the black wire to the black wire, white wire to the red wire. No ground wire. Only thing tricky about this is, yea, you can see I am doing this on the scaffolding.


One IMPORTANT Note (sorry no pictures): I was mounting two lights to the ceiling and ran the main wire from the battery bank to a spot that was equidistant between the lights. Why? Well, DC power can be kinda weird as it can lose power over distance. I didn’t want to have the first light get better power than the second light, which could possibly cause one light to be brighter than the other which would drive me crazy for years to come. So, at the spot I ran the wire to, I created leads for each light off the main line using simple twist on wire connectors. That way each light should have an equal distance from the battery and have equal amounts of power available. Was it necessary, unknown. Was it worth doing for $3 worth of materials and 5 more minutes of work? Yes.
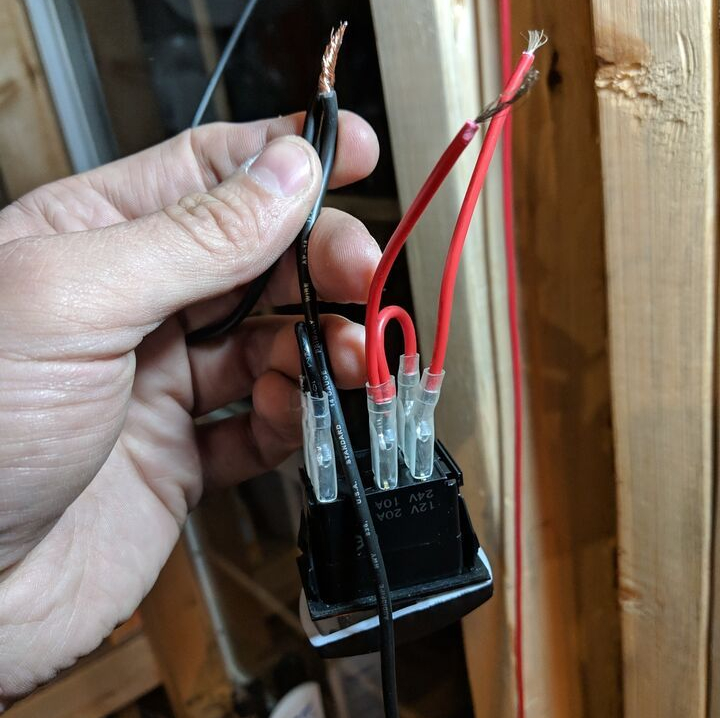
Next was installing the light switch; this was pretty simple as well. at a comfortable height for a light switch, I cut the black and red wires and stripped the ends off. I then joined them to the light switch. One joiner for the black wires, two for the red wires.
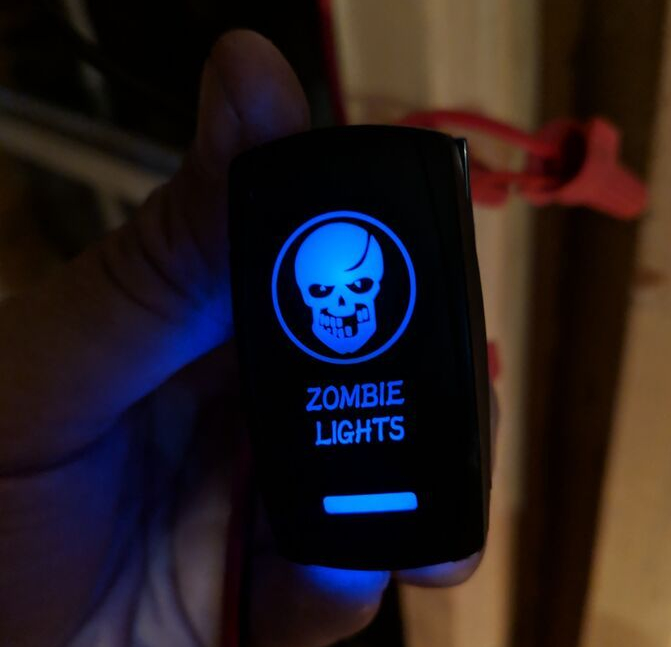
This is a pretty simple DC switch. next, install some wire joiners on that as well to protect the connection. You can see its glowing, so it has power.
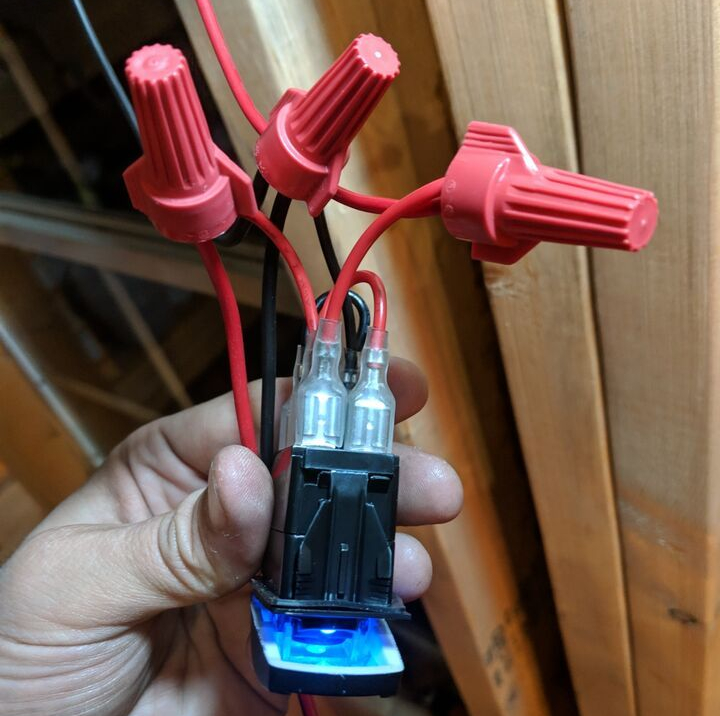
I wanted something fun for my light switch. Here it is.

While it is fun, it also has some functionality too. I wanted a light that was glowing so that when I go out there, I can easily find the light switch. I have also ordered a box to mount the switch to the wall (hasn’t been done yet.. I should do that).
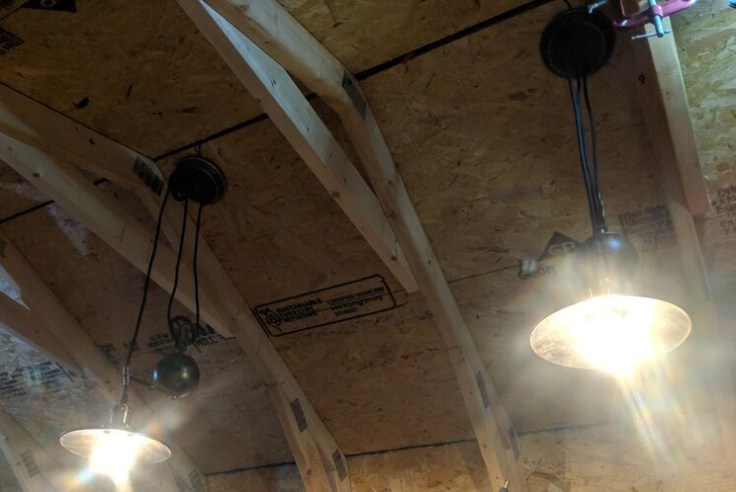
Here is the finished project! I like the way that they hang up top, and they can come down pretty far for specific projects I am working on. Additionally, I can keep one up for ambient light, and one low for project light. Overall, I am pretty happy with this project, and learned some stuff about DC electrical along the way!

Leave a comment